DIY CLAY ORNAMENTS
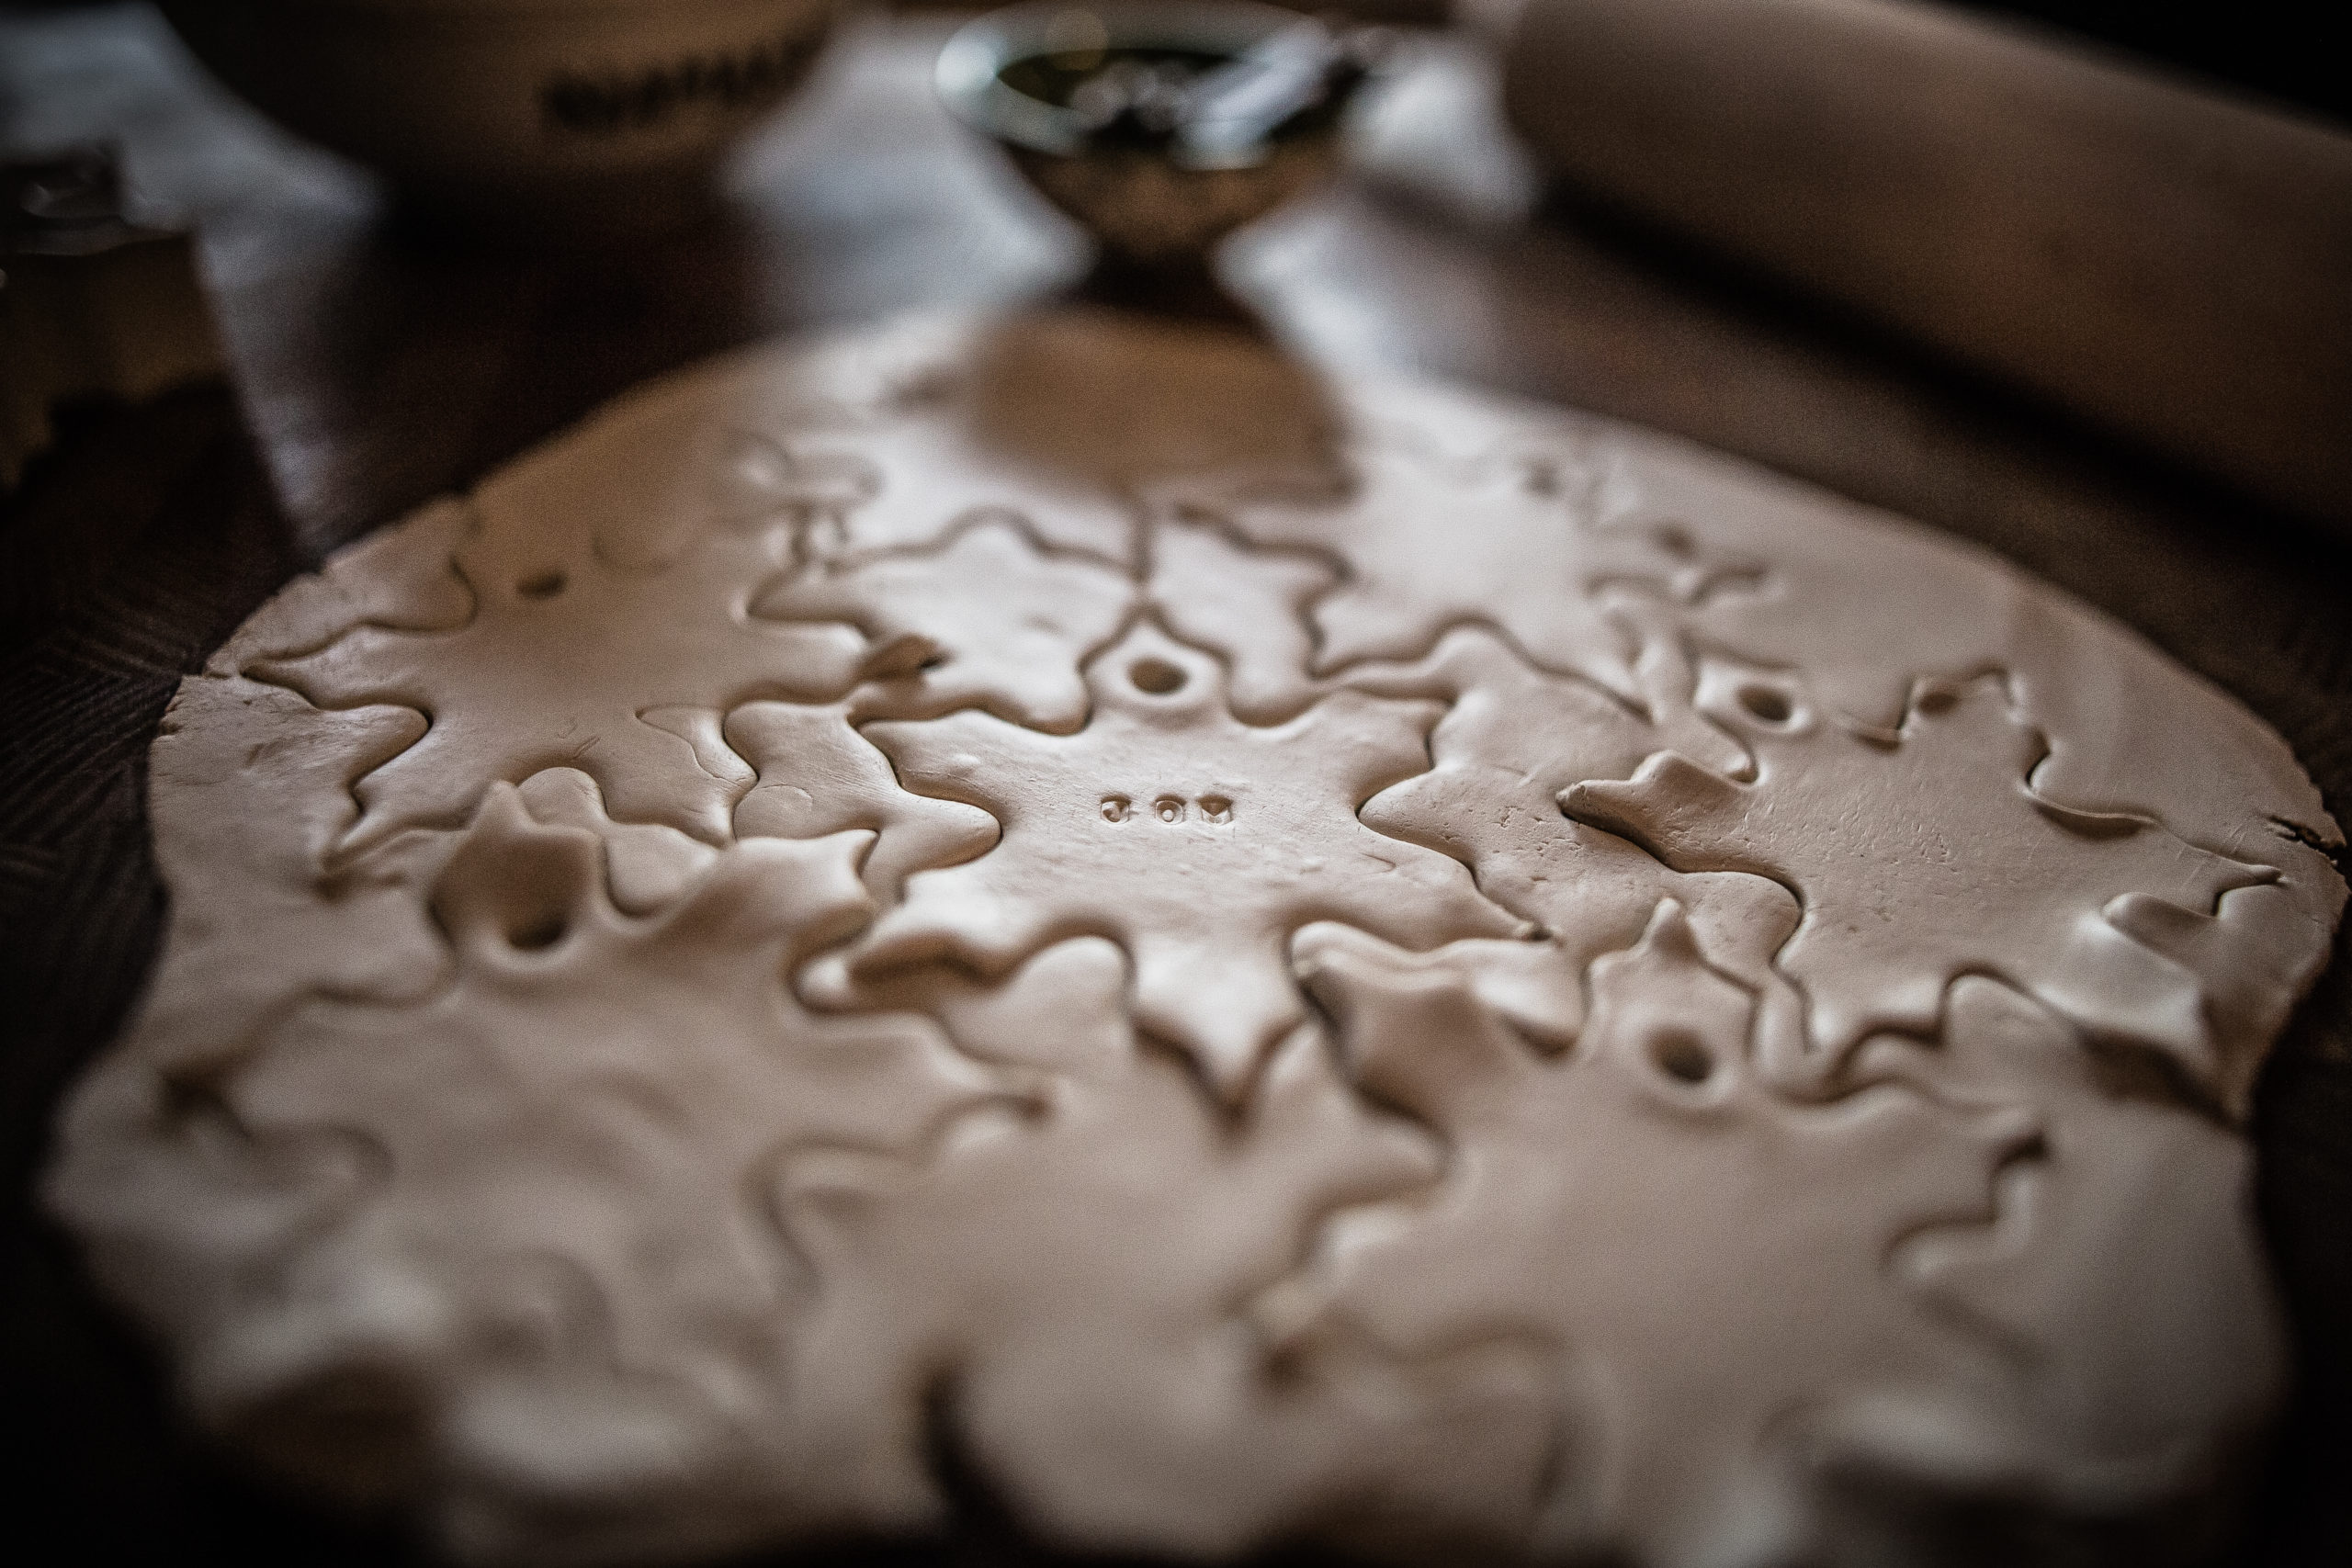
Inspired by UK designer, photographer and fellow small space dweller; Patti Robins (find her blog: here and her amazing IG: here ) I decided to give some homemade Christmas ornaments a go. My friend Janice was hanging out with me and was excited to make some as well.
Here’s what you will need:
- pack of air dry clay (find some here)
- rolling pin
- letter stamps (find some here)
- cookie cutters
- straw
- string or twine
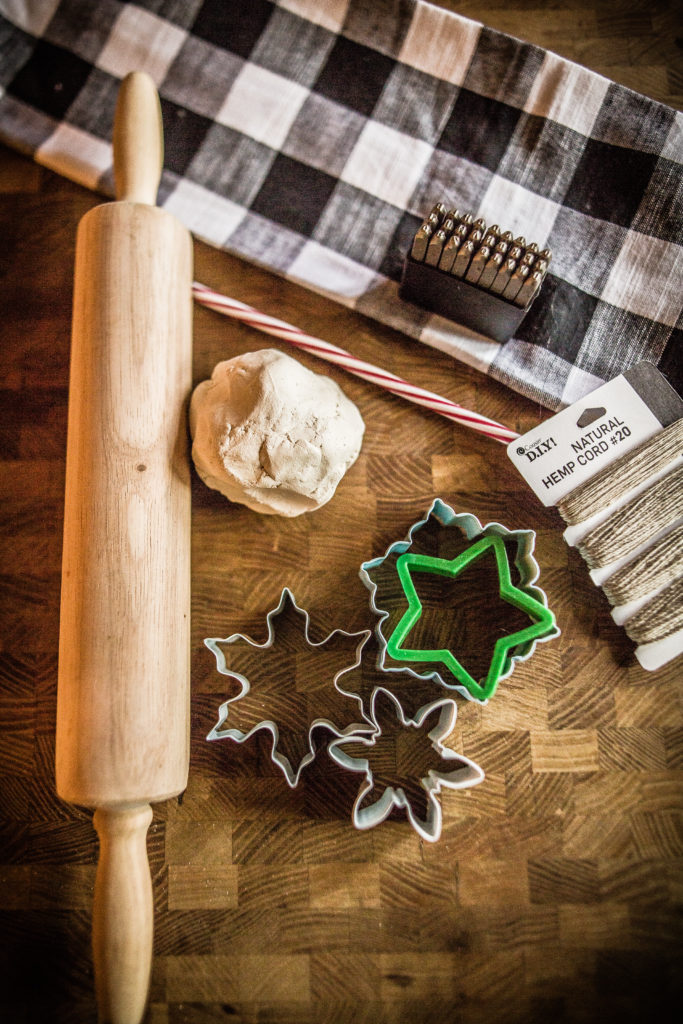
First thing is to find a clean space to roll your clay out on. I have very limited counter space but I do have a beautiful Boos butcher block that comes in handy when I am wanting extra counter space or rolling out cookie dough, or in this case; clay.
When rolling out the clay you want to make sure that it is not too thick. I tried some thicker ones, they just didn’t work out as well. The clay has a tendency to stick to the surface so you will have to find what works for you. I found about 1/8th of an inch works well.
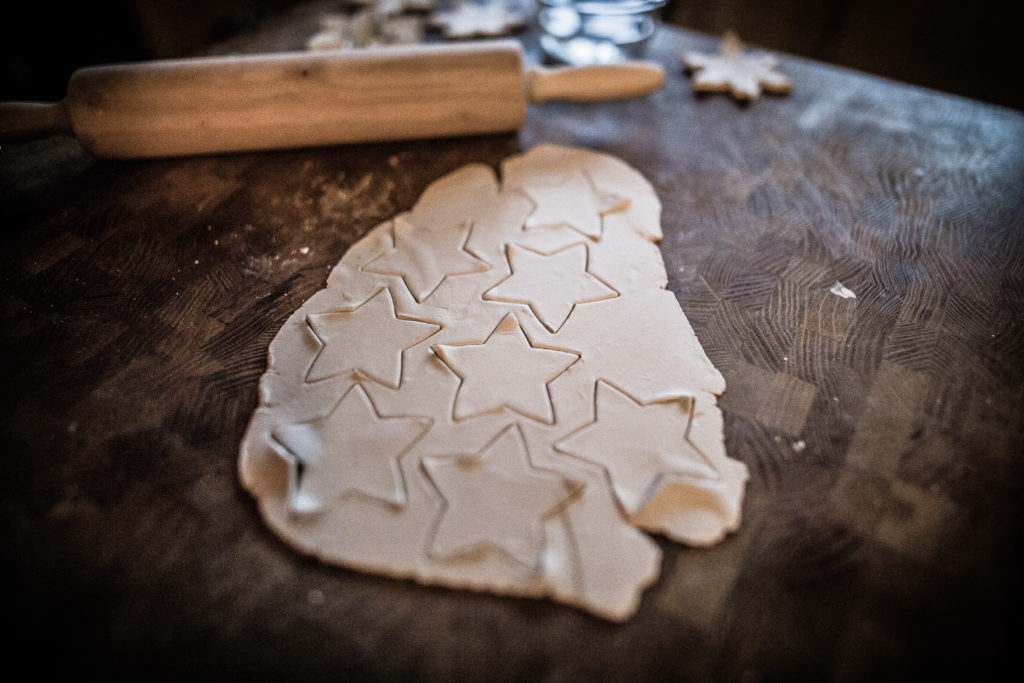
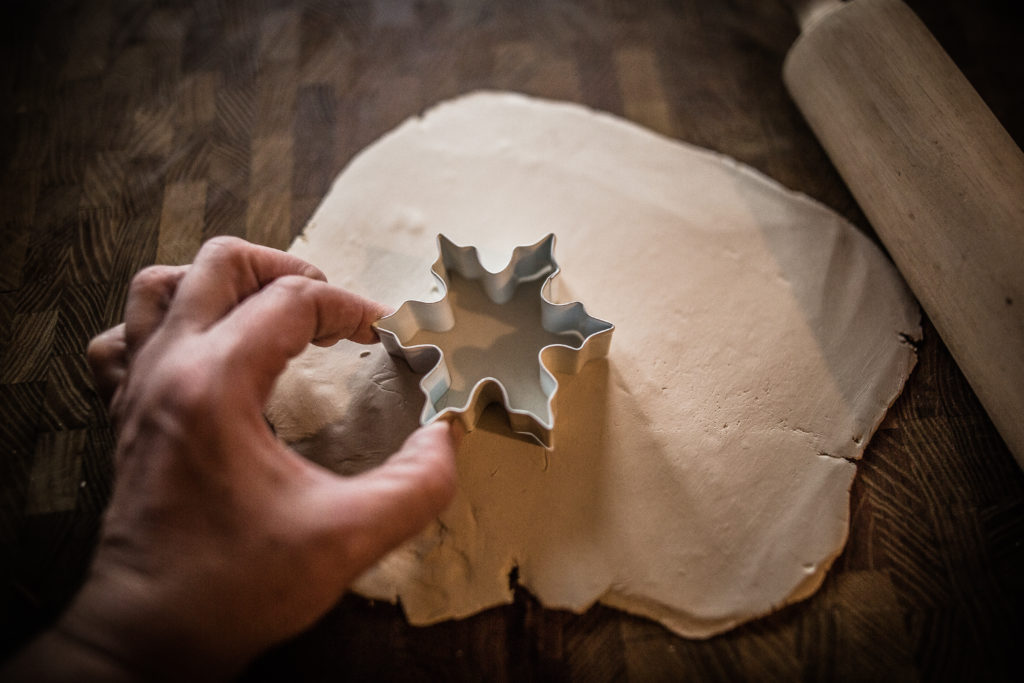
Using cookie cutters (metal works best, the clay doesn’t stick as much) place the cutter and push down firmly . Next, using a straw (in my case I couldn’t find one at the time so I used the end of a pen), make a hole at the top of the ornament to place your hanging string through later.
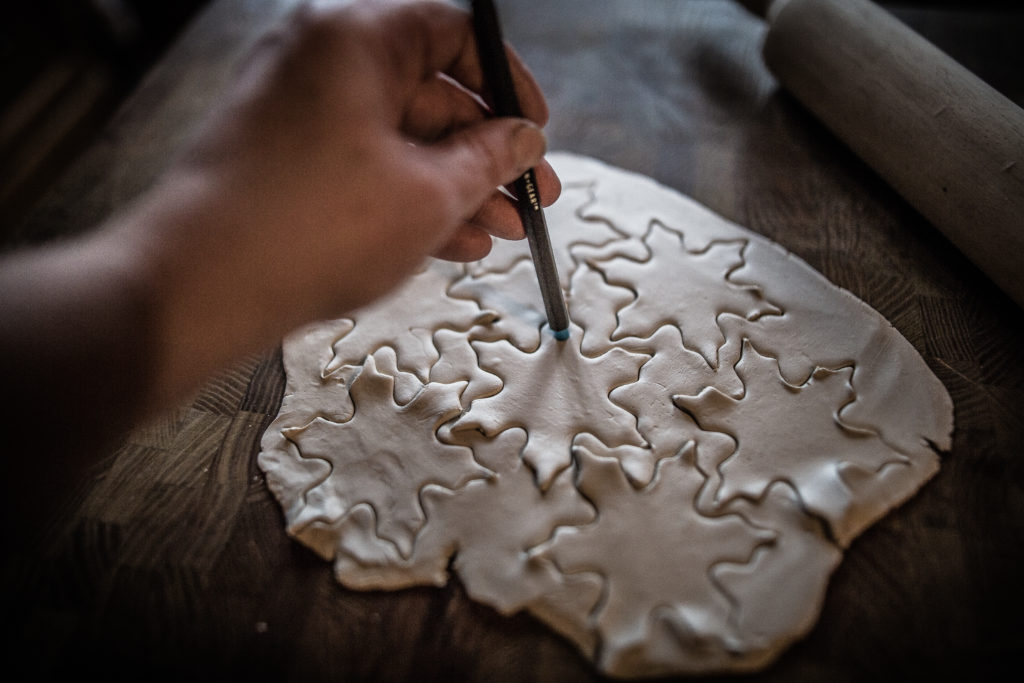
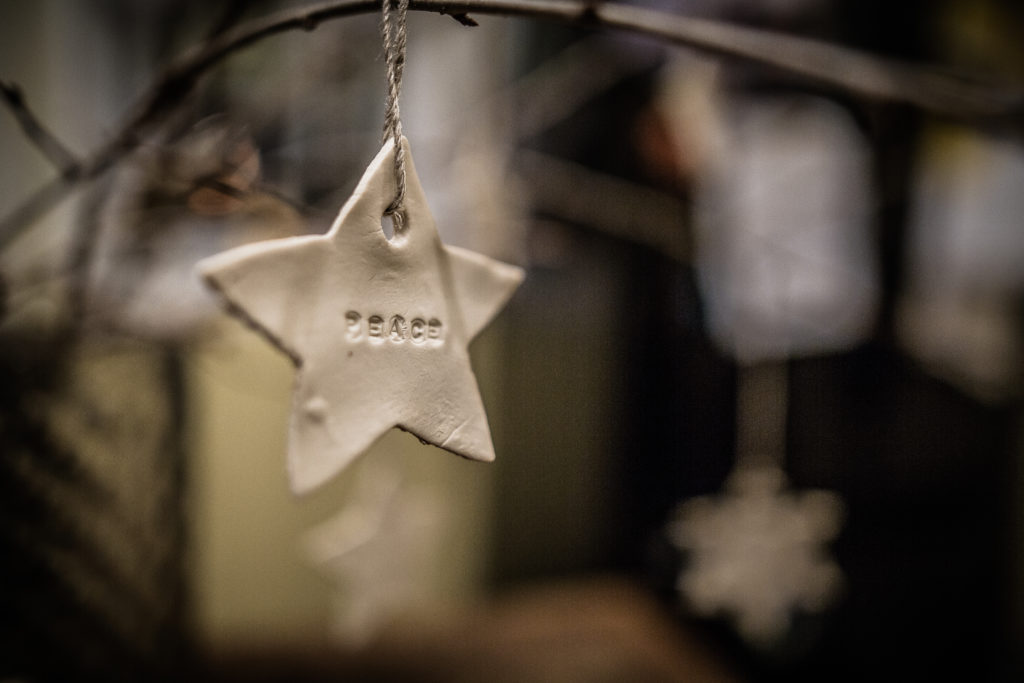
Here’s where your stampers come in, you can use metal stampers (which I did for this tutorial but later bought wooden, clay stamps) simple words, or your favorite phrases can be used, sky’s the limit!

My friend Janice was hanging with me for the afternoon and she had a wonderful time making her own DIY Christmas ornaments.

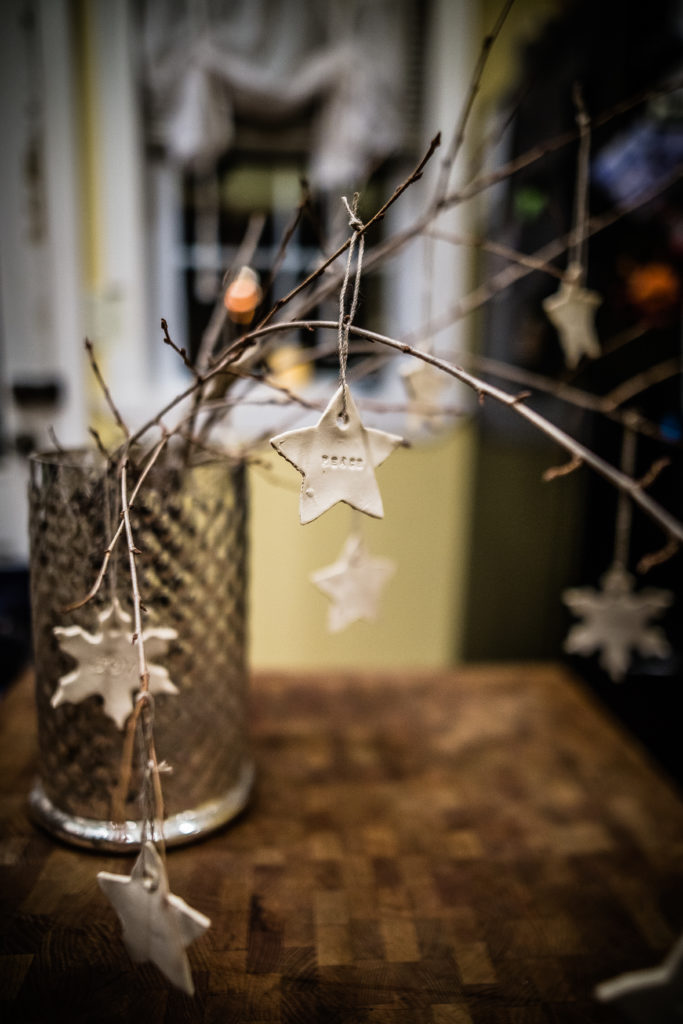
Place ornaments on a paper plate or cookie sheet and place to dry, once dry you can thread your twine or ribbon through the hole and voila! Perfectly cute, easy and a fun DIY project for all ages. Mine will be going on my tree, but for now they are hanging out on some branches in a vase.
Thanks Pati for the fun and easy idea!
Great article! We will be linking to this particularly great article on our
website. Keep up the good writing.